Some years ago I owned a Wuesthoff heavy chef's. It was a pretty cool knife, though because of its weight and geometry, it didn't see much use. Recently I tried a Japanese heavy chef's and it got me interested in making one.
I am going to use 4.5 - 5.5mm stock in 52100 for carbon or powder steel #1 for stainless. I will give this knife my typical geometry that would allow for extensive tip work.
Weight target for 270mm will be 225-250g without a handle, about 300-325g with the handle. Heavier, slightly oversize D handle should help with a balance, though I expect the balance point to be forward, by 1.5" or so.
Fit and finish the same as on my other knives. Standard heat treatment - best combination of sharpness, wear resistance and edge stability.
Geometry will be mostly convex, but I will explore tweaking it so the knife could more versatile cutter along the whole edge, including heel.
This would be a specialty knife, like other specialty knives: scimitar, single bevel knives, etc that I offer infrequently.
Steel for this type of knife should would offer good wear resistance, and should respond well to stropping on a felt and touching-up on 8K DMT diamond plate. One would want to keep the original geometry for a long time to maintain performance, so the target here is to extend time between sharpening sessions to several months in a pro kitchen.
52100 for a carbon steel and PM #1 for a stainless have a good wear resistance, small carbide size for edge stability and respond very well to stropping and touching up on DMT plates so they would be my steel of choice for carbon and stainless respectively.
Prototype is moving from a concept to a production very soon. Pictures will be posted as they will become available.
Friday, June 28, 2013
Wednesday, June 26, 2013
Knife Performance Contest
After some spirited debate on qualities of knives by American and Japanese makers, I have entered in a contest with a fellow knife nut. We are still working out details of how it will run, but in brief, I will provide one of my knives to be tested against a Japanese knife of his choice. It is likely to be a 240mm chefs.
We want this to be a blind test, that is, a tester should have no knowledge of either makers, and the testing to concentrate on five areas: sharpness, food separation, edge holding, edge stability (resistance to chipping) and feel. Feel is something subjective to every person, but typically it covers balance, weight, and how a knife actually feels in one's hand.
I hope that the contenders will be put for a shift (or longer) of cutting in a pro kitchen without touch-ups or sharpening in between, and cutting would cover a variety of things, including dense root vegetables.
I believe the knife provided by the other party will be carbon steel knife, so I will also make a knife in a carbon steel
These are specs of a knife I will make for the contest.
Steel - 52100
Hardness 62-63RC
Length - 240mm on the edge
Thickness -3.4mm at the spine, 3.25 over the heel, 2.25 half way, 1.85mm 50mm from the tip
Weight - ~225g with the handle
Edge thickness - under .127mm at the edge
Thickness 10mm above edge - heel 1mm, halfway .85mm, tip .85mm
Handle - D (if all three testers are right or left handled, otherwise octagonal)
I will start posting pictures in this blog as they become available.
Tuesday, June 4, 2013
Wednesday, March 13, 2013
Walnut Bases for 11.5x2.5 DMT Plates and Felt Strops
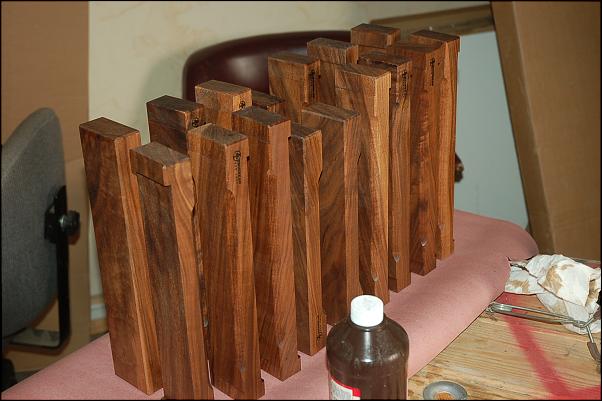
I have been working on a number of accessories that I would like to complement my knives with, and one of them is a walnut base for DMT Plate that can also double as a strop. DMT plate flat surface makes it an ideal for attaching a felt strop (with magnetic backing) to it. So in short, you get two products in one - a sharpening plate that doesn't need soaking or flattening and a strop.
WIP to show what it takes to make a base from a raw lumber to a finished product.
The process is as following:
- Flattening Wood on a Joiner (in the pictures it's maple)
- Resawing into planks
- Squaring planks
- Cutting strips into base blanks
- Marking blanks
- Chamfering edges
- Rabbeting plate to recess feet
- Chamfering bottom (for a comfortable hand grip)
- Removing wood to recess the DMT plate
- Hand-sanding
- Sealing wood with Tru-Oil (several applications with steel wool sanding in-between)
- Finish with hand-applied Poly or spray Lacquer
Felt Strops
- Join the surface of magnetic backing and felt with contact cement
- Cut to size
Flattening Wood on a Joiner
Resawing into planks
Squaring planks
Cutting strips into base blanks
Marking blanks
Chamfering edges
Chamfering bottom (for a comfortable hand grip)
Removing wood to recess the DMT plate
Sealing wood with Tru-Oil (several applications with steel wool sanding in-between)
Finished Product
Tuesday, March 12, 2013
Learning my ropes in the blogosphere
I am new to blogging, but hopefully a learning curve is less steep as one for making knives. I guess the main reason for starting a blog would to communicate more effectively - post updates, WIPs (Work-In-Progress), information on new steels, and other topics related to kitchen knife making and use. Of course, my favorite subject after knives, food, won't be overlooked. There will be articles, videos, pictures.
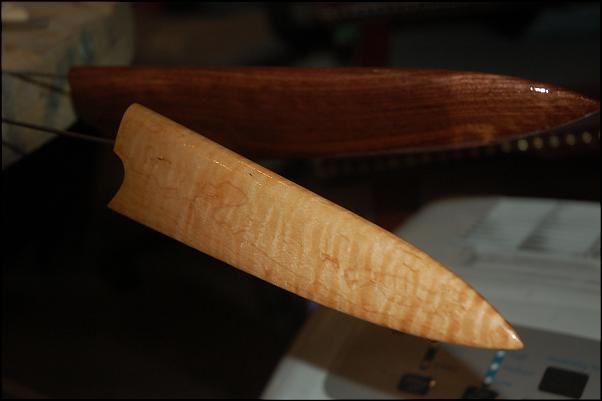
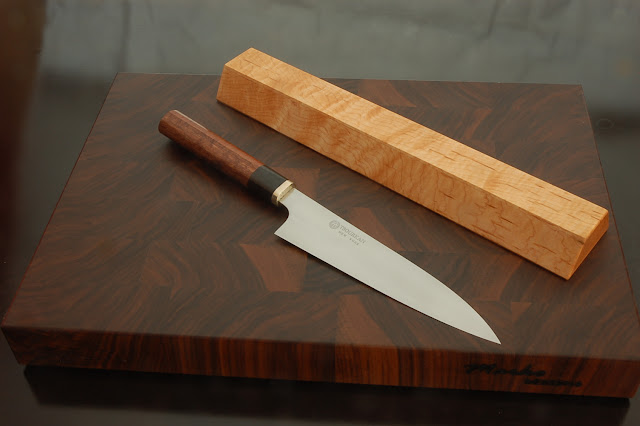
So to start, I am posting pictures of a set I finished last week - a walnut end-grain board, a 12" hightly figured maple magnetic knife holder and 180mm petty chef knife with koa, blackwood, and mokume handle.
I started making accessories recently, and after some tweaking of existing designs, I came up with a following design for a magnetic strip. One shortcoming of the common magnetic knife holders is the separating a knife from the block. My design addresses this issue.
Subscribe to:
Comments (Atom)


